
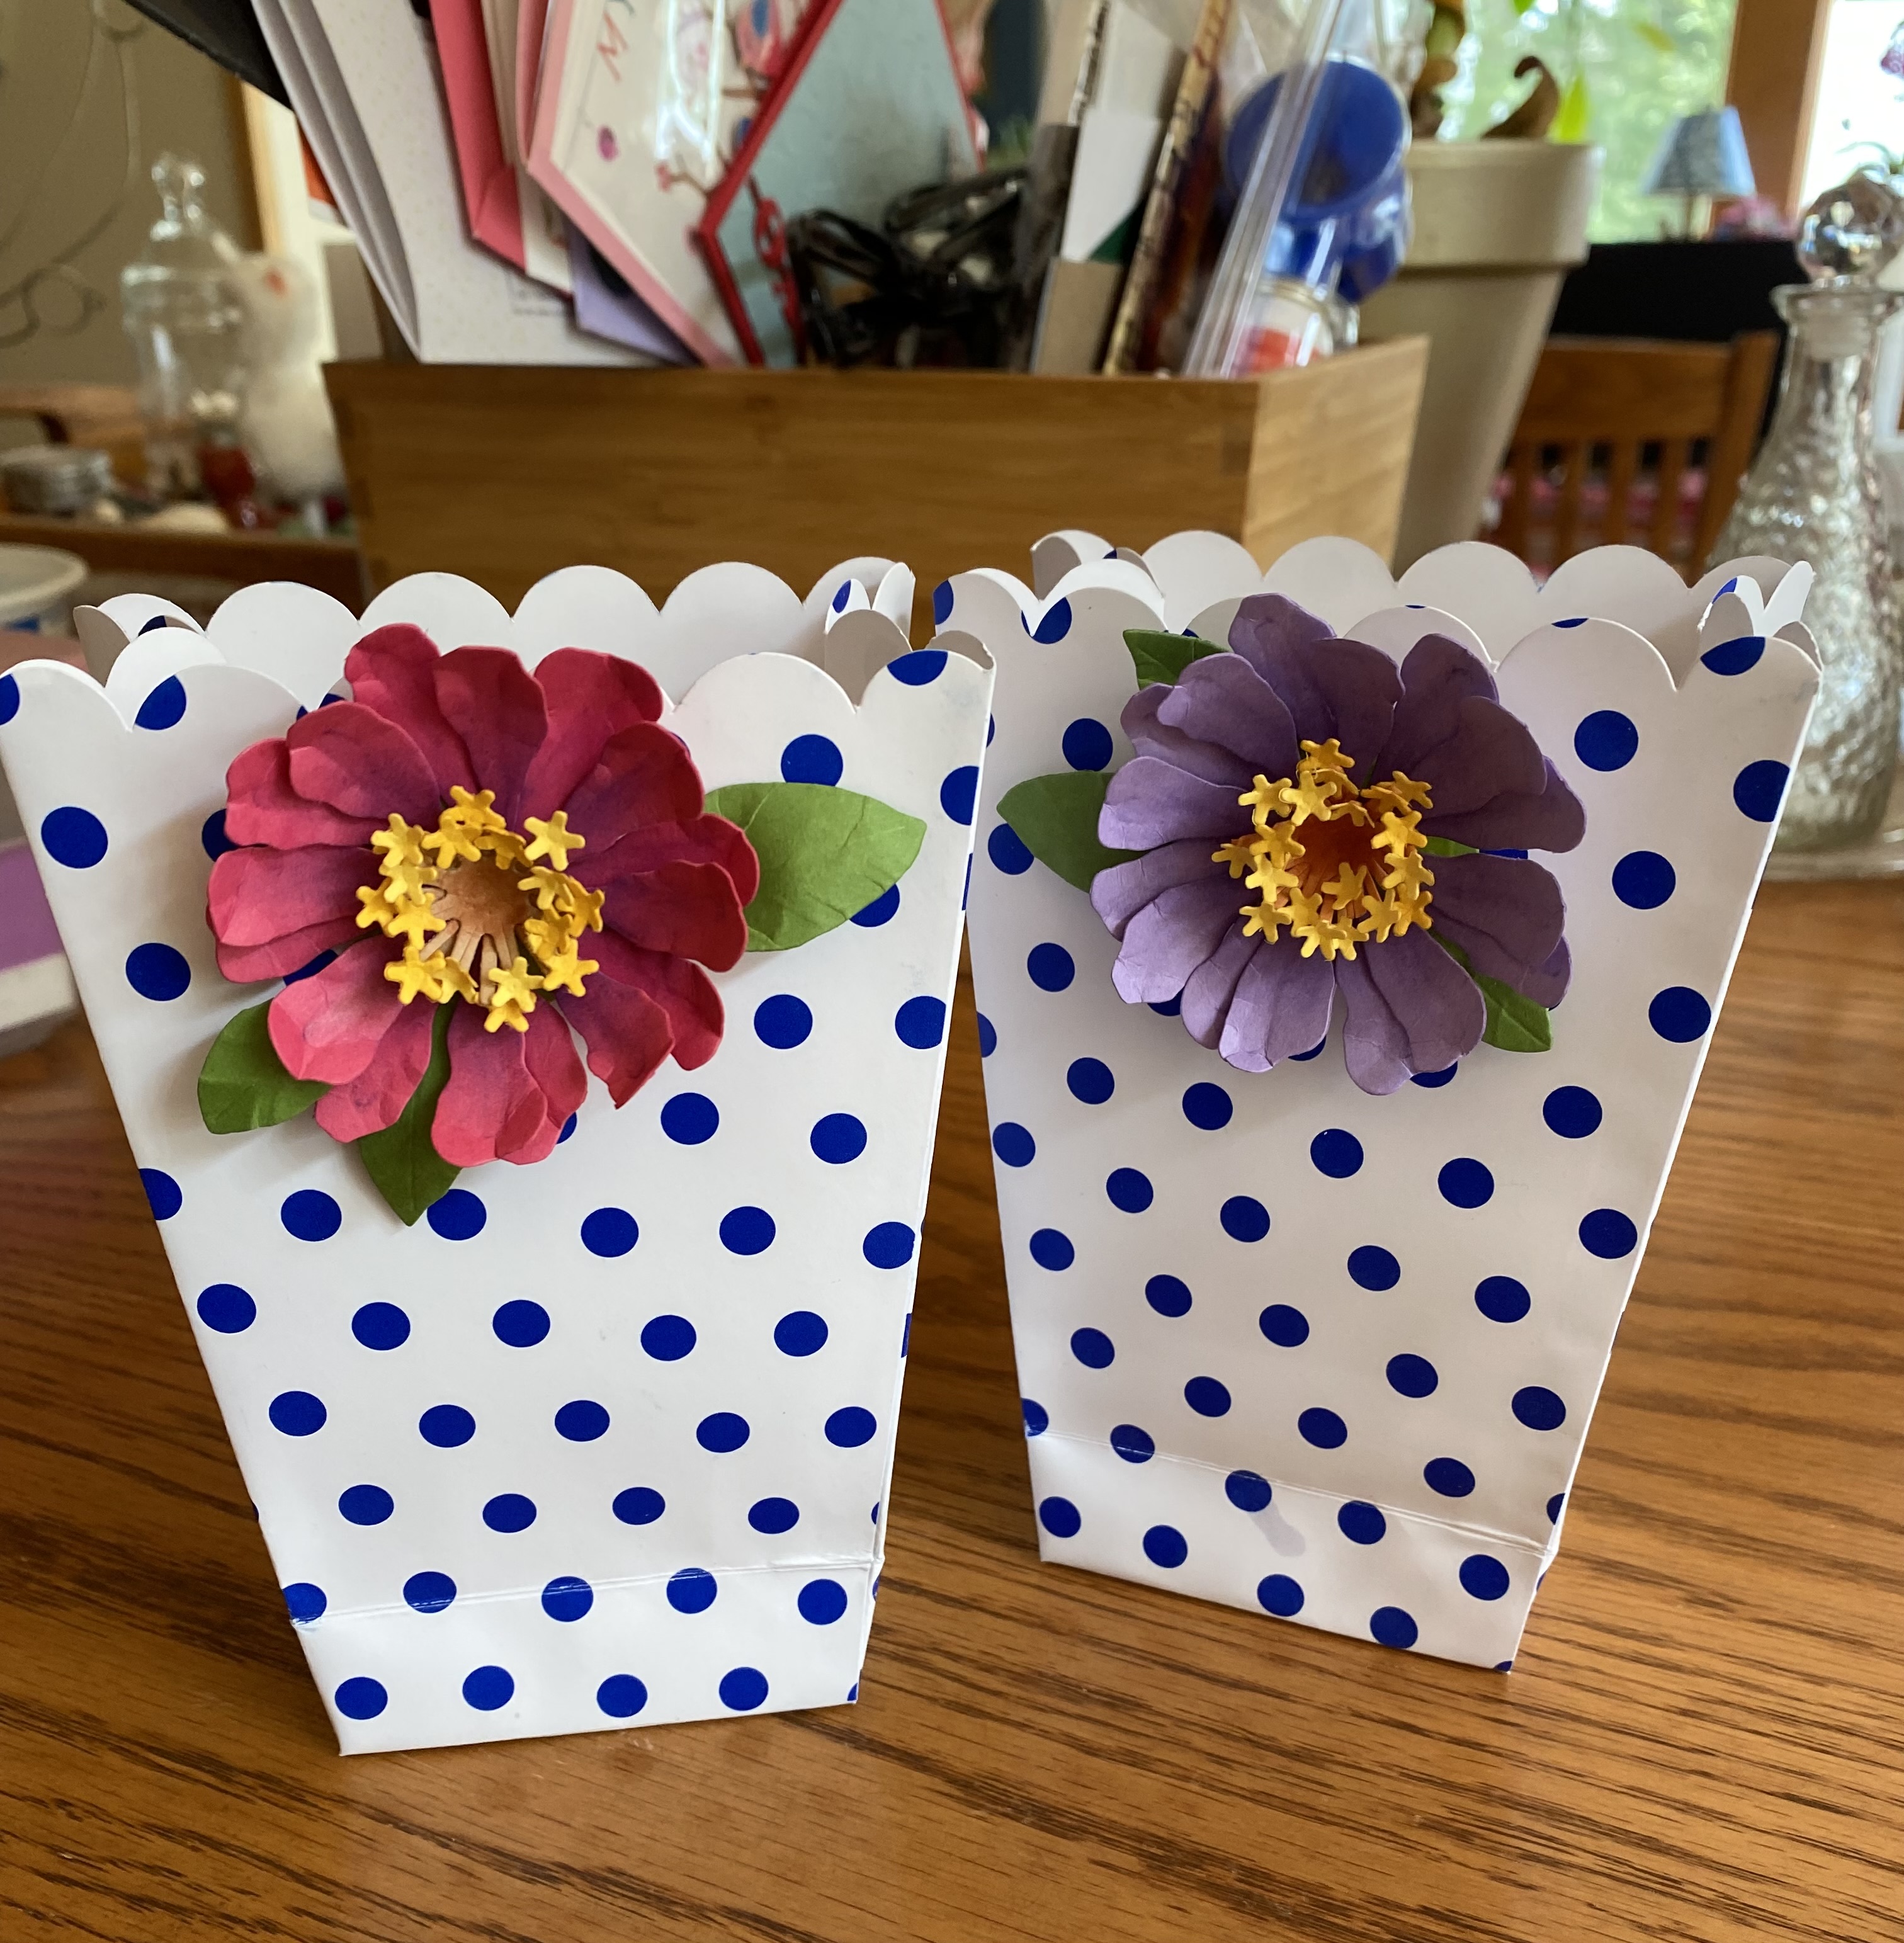
Happy Mother's Day to all the wonderful women out there who nurture, care, and love us. I didn't make any cards this year. But I did put a little something together for my Mother and Godmother. These little pre-made bags were decorated with one of the die cut paper zinnias so I thought I'd share how they're made.
I die cut the pieces and put them into a mini muffin tin like this to keep them sorted.

The first step is to add the pan pastels to the appropriate pieces on the teflon matt from the tool kit. I've learned to be a little heavier with this because in handling them to put them together, some of it rubs off on my hands. I just use a make-up applicator to do this.

Then I use the sponge matt and this tool to shape the petals by pressing down from the tip to the center.

See how it curls as you apply pressure.


Then I use this medium stylus tool to shape it even more.

Gluing the petal pieces together is next. Gluing is done on the teflon matt. I use Tombow quick drying paper glue.


Then I prepare the stamen pieces by using the pan pastels again to give them a little more interest.

I use a small scissor to snip those stamens in half.

Then the stylus helps to cup them.


The leaves are scored on the felt matt. First the center line and then turned over for the diagonal veins.


The little florets are cupped using the smallest stylus tool on the sponge matt.


I fluff up the stamens and glue them onto the petals.

I prefer to use my own regular tweezers to adhere the little florets to the stamens. The tool kit has a nice pair of reverse tweezers but I have more "muscle memory" with the regular ones so I use them. I just gently touch the floret to the glue blob (tacky glue used here) and place them onto the stamens.

They don't have to be perfectly straight and it's better not to use too much glue or they'll slide all over the place.

I add a couple of the leaves to the back of the flower and there you have it.

Now, what was in those little bags? Biscoff Blondies from Savvy Bites. Something new that I decided to try. They're supposed to be able to be made in one bowl, however, the recipe was written in grams so I had to resort to measuring all my ingredients on my scale which I was lucky could convert from ounces to grams, and that meant more bowls were used. (Thank goodness for empty Cool Whip containers. And yes, I was able to account for the tare of the bowls when I measured.

Preheat the oven to 350º.
Prepare a 9 x 9 pan with parchment paper.
Mix together:
350 g light brown sugar and 2 eggs
Add 225 g of melted salted butter (cooled a little)
Add
285 g of regular flour - batter will be very sticky
Spoon batter into prepared pan and smooth out
Measure out 100 g of Biscoff spread (reg. or crunchy) and drop that by tbsp. onto the batter
Take a knife and swirl it through the Biscoff spread (like you're marbling it)
Sprinkle about 50 g of crumbled Biscoff cookies over the battter
Bake for 25 mins. or until a knife inserted in the center comes out clean.

If you like fudgy brownies you will like these. They have a fudgy texture - I think the crunchy spread would be good for these but I got the smooth. Biscoff spread is often used in place of peanut butter for those that have nut allergies. The cookies and spread have a caramel and cinnamon flavor.

The original recipe says to cut into 9 pieces. I cut mine into 12 and think that they could be even smaller given how rich and fudgy they are. You can also add to them - chocolate or nutella would be nice. HWNSNBP had a taste and said they were okay - this is good coming from a man whose favorite flavor is vanilla.
Great idea using the muffin tin to organize small items. I feel like your wonderful flower tutorial just revealed your secret flower making to me. Very smart work.
ReplyDeleteYum, those blondies look good. Isn't tare a wonderful function. I grew up multi-lingual in cooking because we had several US and Canadian cookbooks, and I must say I do find cup measurements a pain for stuff like peanut butter or corn syrup. I usually note the weight in the recipe and weigh that even if I go on using cups for the dry stuff.
ReplyDeleteI guess I won't need to look for the video for the zinnias next time I make one :D, and I far prefer photo tutorials to videos. I admire your patience in making so many, each one beautiful.