Showing posts with label Shower Cards. Show all posts

Tuesday, May 16, 2017

Random Project Round-Up

The daughter of one of my co-workers is getting married this summer out-of-state.  So her mom is planning a little bridal shower for her here for some family and friends who will not be able to make the wedding.  She asked me to help with invitations using a dress theme.  I quickly looked through Pinterest for some ideas and found this cute card (click here).  (Register pet peeve here - when people pin the project instead of the post and you can't get back to the original to find out who to give credit to!!!)  My friend had this dress cookie cutter that she is using to make special cookies for the shower which turned out to fit perfectly on the front of the invite.  I didn't have a stamp that said Bridal Shower so I used the computer and some white cardstock to get it on there.  Note:  The coral color is much darker in this picture that it is IRL.  With the two of us working, and with the right tools, we made 18 of these in about an hour.  She did have to take them home to glue the bows on.  


Friends of our recently celebrated their 40th anniversary.  We'll have two more of those this year, including ours, and one next year.  So I've decided that this will be the card for them all, though they will all have different "floral arrangements" and colors.  I used this tutorial from Adinktive Design which I fell in love with when I saw the samples, but be forwarned that the tutorial is just for the box part.  You do the floral arranging on your own making each card distinctive.  


Last week Rachel asked me to make a card for the officer that works in her school building.  A few days before, a Delaware State Trooper was shot and killed at a convenience store near her home and she wanted to show their school officer that they appreciate the fact that he is there to protect them.  I used a brick embossing folder for the black wall with a thin blue line across it. Thank you is spelled out in silver letters. 


The base of the card is white allowing space inside for a note of thanks.  


And since I took that picture on top of something in the works, I'll show you the finished panel yet to become a card. This stamp was a gift from my blogging friend Sabrina.  I stamped the design in kraft ink on kraft paper and used inks and an aquapainter to color it.  I like the coloring, but I think I'm going to try stamping it in a darker color, possibly black for a little more ..........something.  


That's the Round-Up for now.  


Monday, March 21, 2016

Card Catch Up For March

With spring on the way I was glad to use some softer colors for these cards.  Three different occasions - sympathy, birthday, and bridal shower.  My stamp cave is all topsy turvy but seriously, I just cannot bring myself to buy a card.  Not because I think my cards are better than any I could buy but because I have so much invested in supplies that ........get the picture!  And, while I have been cleaning out, I am finding all sorts of good things that I'd forgotten I had, like this heart die,


and this stamp set with the spring wreath, and


this embossing folder that it seemed like I waited forever to come in.  


I spent a few hours, yes hours, on Saturday afternoon sorting paper - cardstock scraps.  Scraps.  All sizes and shapes of scraps. I have to question whether I'm being frugal or a hoarder?  Am I being green by reusing or should I be adding to the recycle bin? What I have come to realize is that it is much easier to have ideas and spend time buying supplies than to actually find the time to put all those ideas in motion.  I can only hope that by getting this room, this stamp cave, this craft studio organized that I can focus on being more creative and more stress free.

Thursday, February 25, 2016

Baby Shower

On Valentine's Day we had a baby shower for my daughter-in-law.  It was a brunch held at her mother's house.  Her mom and sisters made a delicious variety of brunch foods, Rachel brought specialty desserts, and my role was to make the favors - definitely in my wheelhouse.  

Oh, and it also had a book theme.  So looking back on some of the things that I have done in the past, these little punched babies reading books was where I was headed again.  (Can you tell what she's having?)  


I did some searching and found a pattern for a little box that looked like a book here.  Luckily I had a bunch of this scrapbook paper that was perfect.  

Here is the book closed.


And then opened.  I added a two-page spread inside the cover that had a pictures of Michelle and Chris as babies on each side along with their birth dates and labeled "My Mom" and "My Dad" and then across the bottom of the two pages "Thank you for coming."


The box opens and inside 6 Hershey's nuggets fit perfectly.

  
I used the babies on magnetic bookmarks that I made from matching blue and green card stock and repurposed magnets.  I tied a thin grosgrain ribbon around each book box first and then slipped the magnetic bookmark over the ribbon.  Everyone seemed pleased with them.  


The food was delicious, and she was so overwhelmed by all the wonderful gifts that she received. Her mom made her a beautiful quilt (not the one in the picture), my mother had knitted them a baby afghan, and one of Michelle's friends crocheted a beautiful afghan with a sailboat motif.  They have a nautical theme in the baby's room.  This is the card that I made for them which I cased from here


She's feeling and looking great and has about 9 weeks to go now.  The excitement is building!

Wednesday, July 23, 2014

Bold, Beautiful Bridal Colors


Aren't these some beautiful bold colors? This is part of a wedding invitation we received for my daughter-in-law's sister's wedding.  Gorgeous!  I was told a friend of hers drew the flowers and used a program, I think, to color them in.  You should see the response card - I told my DIL I didn't want to mail it back because it was so pretty.  It's the same floral outlined in white on kraft colored paper.  So simple and elegant.  

Anyway, when I saw these flowers I immediately thought of 4 of the new SU In-Colors for this year:  Blackberry Bliss, Hello Honey, Mossy Meadow, and Tangelo Twist. 


So I was inspired to use these colors for a bridal shower card for her.


I stamped that floral image in VersaMark ink on the Blackberry Bliss background paper first.  I ran a piece of Hello Honey through the Big Shot with a swirly pattern and used a 2/12" punch for the Tangelo Twist circle piece with the simple sentiment of Happiness in Blackberry Bliss.  The floral image was again stamped onto Whisper White with Memento Black ink and then I used an aquapainter and the inks in those new colors to paint it and then fussy cut it out.  On the inside I used another stamped and painted image in the corner before I wrote her a note inside as I couldn't make the shower in person.


They are getting married next month at an outside wedding and I wish them the most beautiful of days!

Tuesday, June 25, 2013

Shower and Floor


One might think that that is a DIY title, but the shower does not refer to the one in our home but rather the bridal shower for one of our good friends' daughter.  She loves the color pink and there were pink daisy-like flowers on the wedding invitation so I used my daisy die to create my own flower from the new Strawberry Slush CS.  I had to add this portion of a die cut doily to the back because I apparently wasn't as careful as I thought and got ink on the back of the card base.  You know what they say about mistakes being the opportunity for embellishment!


As promised, I said I would show before and after pictures of our floor project.  You will see that we have an open layout plan of the main part of our first floor.  This is the view from the dining area to the living room area.  The double-hung windows open up to the front porch.  The rug is a very faded shade of dark rose and you can probably see where the furniture was by the difference in the color.  (And the wall are not pink, they are painted with several shades of tans (biscuit and bagel are the names) and I used one of those split rollers that blends the paint, or rather, makes it look like very soft sponging.) 


This is the same view with the wood floor unfinished.


And now the finished floor.


This is a more angled view which shows the stairway to the second floor and the new opening for the kitchen mid progress.


And the finished floor and stair treads from this angle.  We will have to paint the risers on the stairs to match the trim.  (Hopefully this will be done before too long!)


This would be the view from the living room to the back of the house (the dining room) and on the right is the kitchen with the two half walls.


I wanted the half wall to the dining area eliminated and we are contemplating putting in a kitchen island instead of having the two tables again (the kitchen and dining room tables so close in proximity are really a little redundant).


It opens up nicely to the kitchen now and the lower portion of the walls will have to be refinished.


Here the floor is finished but the trim in this picture is not yet up.  It has since been done.


If I were standing at my sink and looking into the rest of the house, this is what I originally saw.  (The floor was linoleum.)


Looking into the kitchen before (the stove doesn't normally stick out like that, we were waiting for someone to come help disconnect the gas line so we could take it out).


With the unfinished wood floor.


And with it finished.


I love it.  I don't love the smell of the finish which is still lingering, but I love the floor.  It's a 1000% improvement on the faded floor and time-worn linoleum.  The floor extends to the hallway which you don't see in these pictures, the stair landing, and the upstairs hallway also.  

We've brought in the furniture (which will hopefully be replaced soon if I can decide on what I want to replace it with) and have lots of incidental "stuff" to go through.  That is the overwhelming part.  I had just gotten to the point in the stamp cave where I had some free space and it wasn't as cluttered, but there was a small folding table that was in the dining room where the wall is no longer and under that table were storage boxes full of, wait for it, ................craft supplies.  They had to be moved upstairs and I will be going through all that stuff to see what I should be keeping and what just has to go.  I don't think I have enough hours left in my lifetime to use it all.  

Gotta run for now.  Hoping my creativity mojo will be back with me come July as I have a lot of catching up to do!

Monday, June 25, 2012

Bridal Shower

Yes, I haven't posted anything for a while because of some things going on here but hope to make up for that a little now.

My son is getting married in October and on the 16th of this month they had their Bridal Shower.  Michelle is his bride-to-be and her sister Julie and her mom put together a wonderful shower that was held at a local winery.  I'm still trying to figure out how to edit the pictures on my new camera which I used that day so they will be forthcoming.  But I do have pictures of the card I made and the gift.


My only regret here was not using a darker ink for the sentiment.  This is a 5 x 7 card with a Pool Party base.  The dsp came from various sources.  I first stamped the back image with VersaMark ink and then added the banners in the assorted papers.   Some of them had additional embellishment with punched edgings.  The oval with the sentiment was popped up and around it and down the banner I added punched flowers and starfish embellished with sticky pearls.  Two little punched hearts were also added to the sentiment oval.


The gift I made them is the Newlywed Survival Kit which begins with an empty paint can, some scrapbook paper and ribbon.   (I always go overboard buying ribbon, can you tell!)


Once you add the paper, ribbon and some paper flowers you have this...........


A few close ups of the flowers.............


They are made with a combination of punches.  The largest punch is out of dsp and all I did to that layer was to curl the petals slightly and set it aside.  The inside of the flower was made with two shades of solid cardstock and two different punches.  I first punched a hole in the center of each punched shape and before I fastened them together I spritzed them with water in a cake pan and smooshed them around in it before I wadded them up.  I unwadded them and then put them together with a brad and then shaped the petals.  Then I put them back in the cake pan and you could leave them overnight to dry or you could happen to be baking cookies or cupcakes (like we were) and you could set the cake pan on the stove top to use the heat of the oven to dry them.  (You can also stick them directly in the oven after you've turned the oven off while it's cooling down, just keep an eye on them so they don't get crispy - know what I mean!)  Then I took the dried centers and hot glued them to the bigger punched flower.  You could used dimensionals or glue dots for this, but since I was hot gluing them to the lid I just went with it.

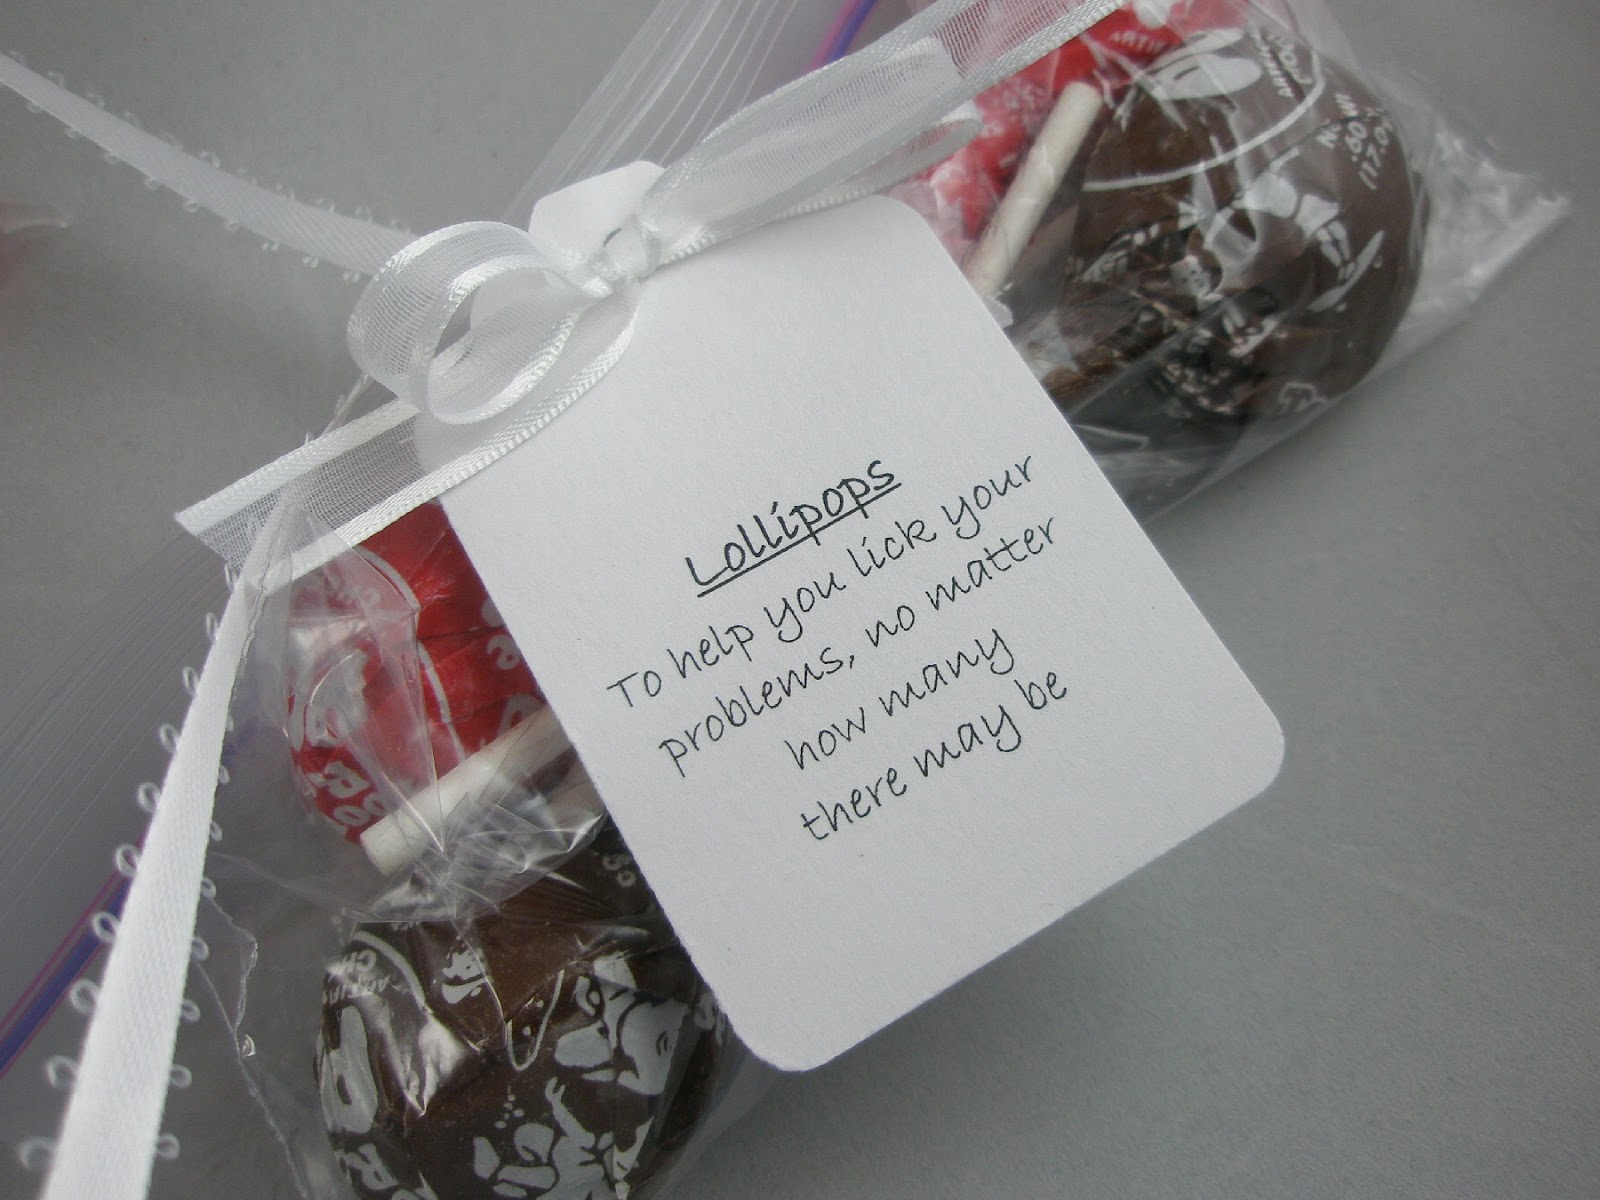
Once you open the can, here are the contents all attached to the lid via a long strand of ribbon.  Each item is in a little zip plastic bag with a tag tied on with a bow...........

(sorry, the first picture is a little blurry - if you click on the pictures you should be able to read the tags)


I like to alternate the edible packages with those you can't eat and spread the weight around also.  Some of the things are heavier than you think and will pull off.  

The end of the ribbon holds an envelope with the real gift - a gift card, gift certificate, cash, etc.  I did not attach a tag to this one this time, but you could have a tag that says "A GIFT CARD for you to use for something you did not receive at your shower" .  You can make it as personal as you would like.  


I had another gift for them that I will share a little later.