
My son is getting married in October and on the 16th of this month they had their Bridal Shower. Michelle is his bride-to-be and her sister Julie and her mom put together a wonderful shower that was held at a local winery. I'm still trying to figure out how to edit the pictures on my new camera which I used that day so they will be forthcoming. But I do have pictures of the card I made and the gift.

My only regret here was not using a darker ink for the sentiment. This is a 5 x 7 card with a Pool Party base. The dsp came from various sources. I first stamped the back image with VersaMark ink and then added the banners in the assorted papers. Some of them had additional embellishment with punched edgings. The oval with the sentiment was popped up and around it and down the banner I added punched flowers and starfish embellished with sticky pearls. Two little punched hearts were also added to the sentiment oval.

The gift I made them is the Newlywed Survival Kit which begins with an empty paint can, some scrapbook paper and ribbon. (I always go overboard buying ribbon, can you tell!)

Once you add the paper, ribbon and some paper flowers you have this...........

A few close ups of the flowers.............


They are made with a combination of punches. The largest punch is out of dsp and all I did to that layer was to curl the petals slightly and set it aside. The inside of the flower was made with two shades of solid cardstock and two different punches. I first punched a hole in the center of each punched shape and before I fastened them together I spritzed them with water in a cake pan and smooshed them around in it before I wadded them up. I unwadded them and then put them together with a brad and then shaped the petals. Then I put them back in the cake pan and you could leave them overnight to dry or you could happen to be baking cookies or cupcakes (like we were) and you could set the cake pan on the stove top to use the heat of the oven to dry them. (You can also stick them directly in the oven after you've turned the oven off while it's cooling down, just keep an eye on them so they don't get crispy - know what I mean!) Then I took the dried centers and hot glued them to the bigger punched flower. You could used dimensionals or glue dots for this, but since I was hot gluing them to the lid I just went with it.
Once you open the can, here are the contents all attached to the lid via a long strand of ribbon. Each item is in a little zip plastic bag with a tag tied on with a bow...........
(sorry, the first picture is a little blurry - if you click on the pictures you should be able to read the tags)


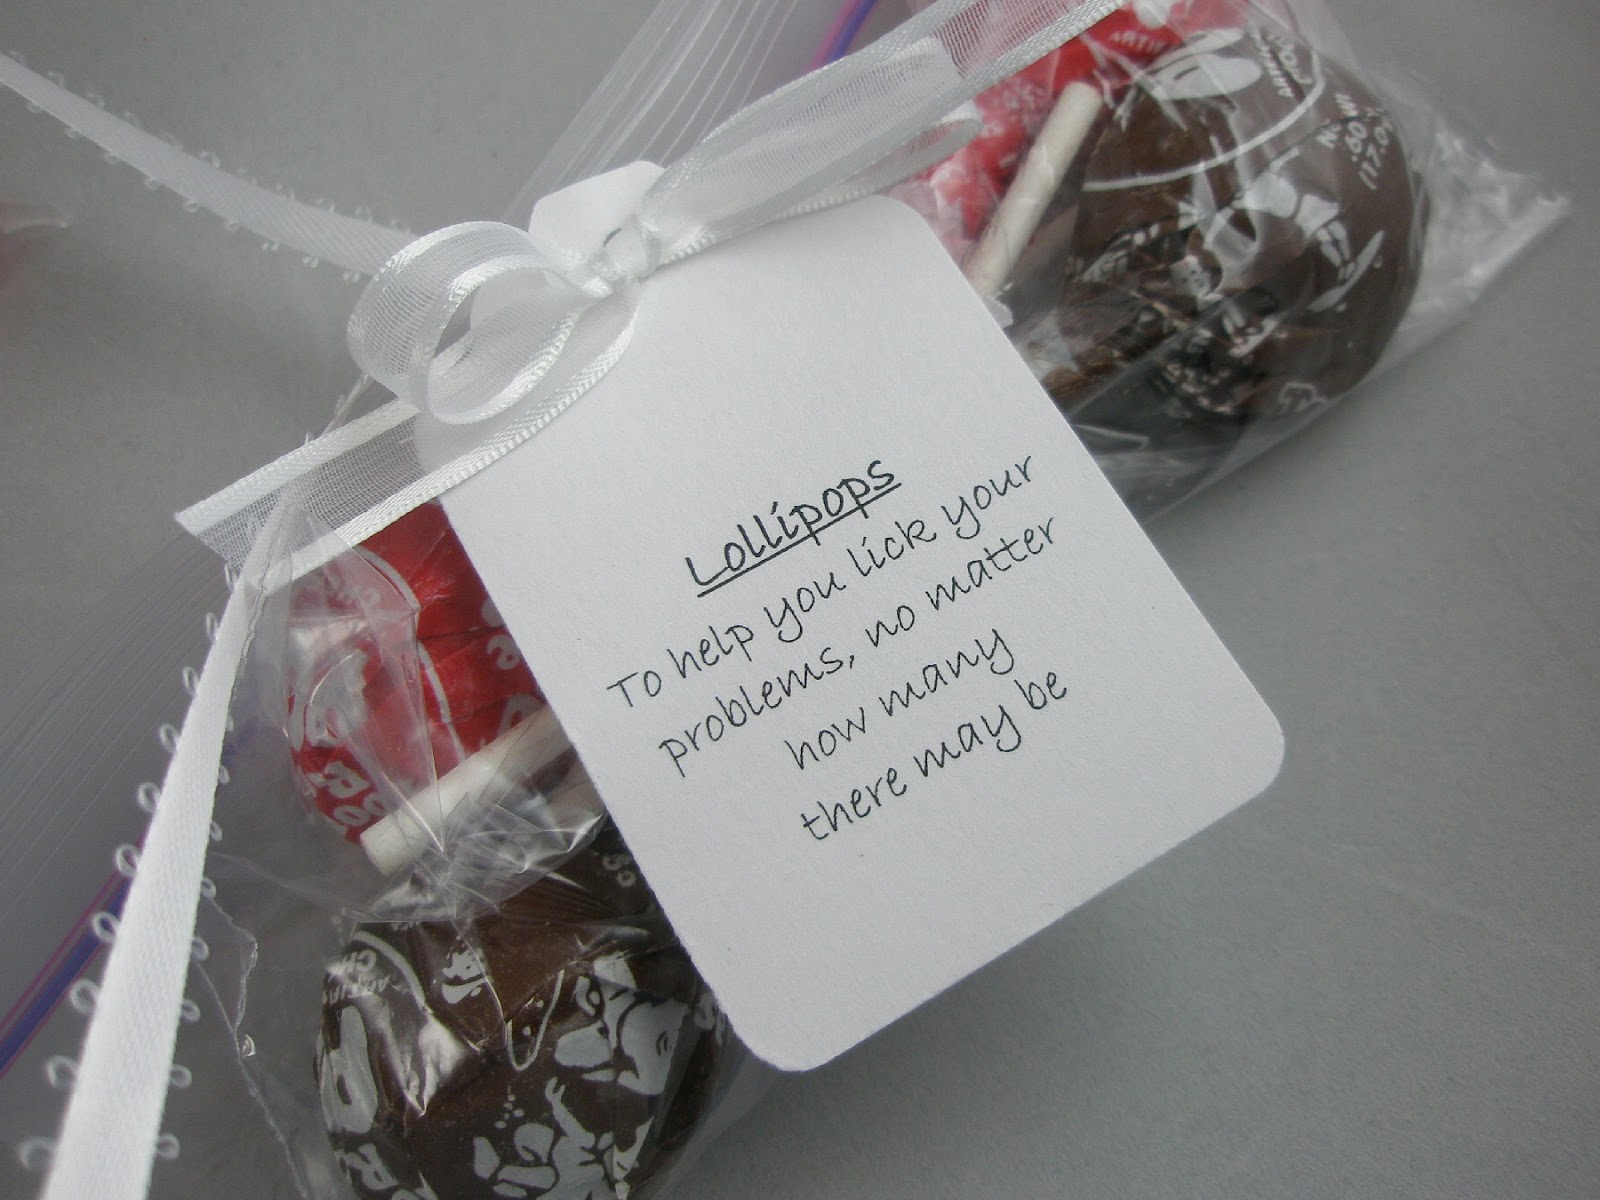


I like to alternate the edible packages with those you can't eat and spread the weight around also. Some of the things are heavier than you think and will pull off.
The end of the ribbon holds an envelope with the real gift - a gift card, gift certificate, cash, etc. I did not attach a tag to this one this time, but you could have a tag that says "A GIFT CARD for you to use for something you did not receive at your shower" . You can make it as personal as you would like.

I had another gift for them that I will share a little later.
This is wonderful! My son will be getting married in the next year or so . . . I may have to make one of these.
ReplyDeleteSo happy to see a post from you - sending you an email to say I hoped it was just life being busy and all the end-of-school stuff keeping you occupied. That survival kit is brilliant, some very thought-provoking tags attached to the little packages. And I love the seaside colours!!
ReplyDeleteVery cute! I really like the card and gift idea!
ReplyDeleteThis is AMAZING Lorraine!!!! I love all the tags - adorable!!!! You decorated the can beautifully and the card is just stunning!!!!!! What a treasure!!!!
ReplyDelete